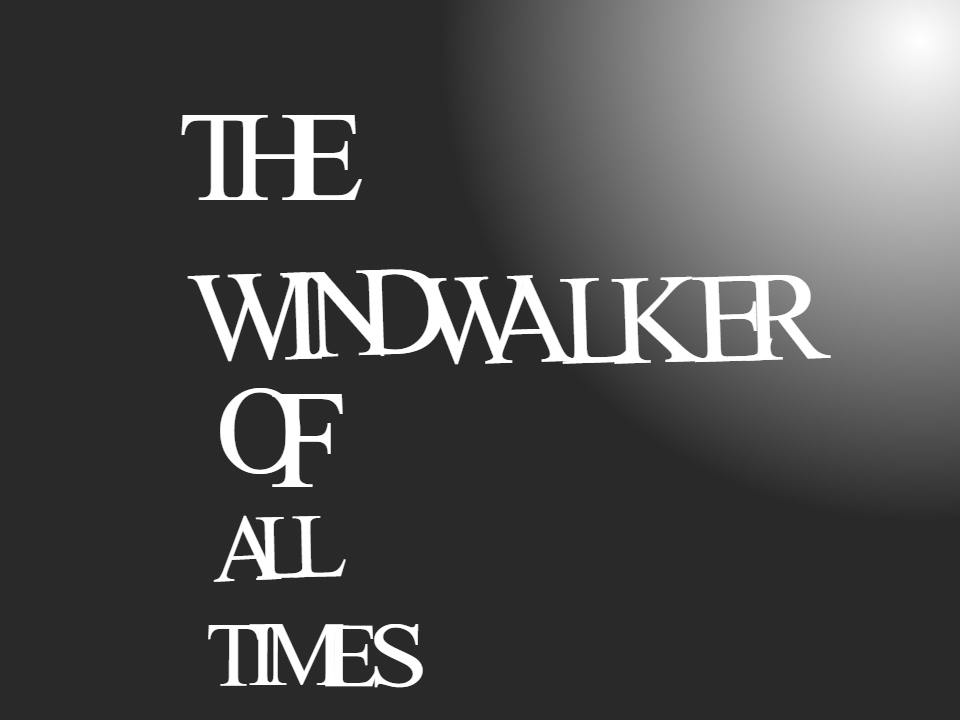
The Windwalker of All Times
Stuck on your RPGMaker Game? Follow This Tutorial!
Update: I have finished the custom events today! (yay, but I still have to make the characters, so oops) However, I have an issue with the restore feature in RPG Maker MZ. You might be asking yourself, “That’s a Windows feature, I don’t see it in RPGMaker!”. And yes, you are right. I tried to find notepad files and files of TWOAT to see when I made it. I’m pretty sure I started it back up in late January of this year, but I couldn’t find any evidence. I first made it in July of last year.
Now to the good part! Putting your writing in your RPGMaker game!
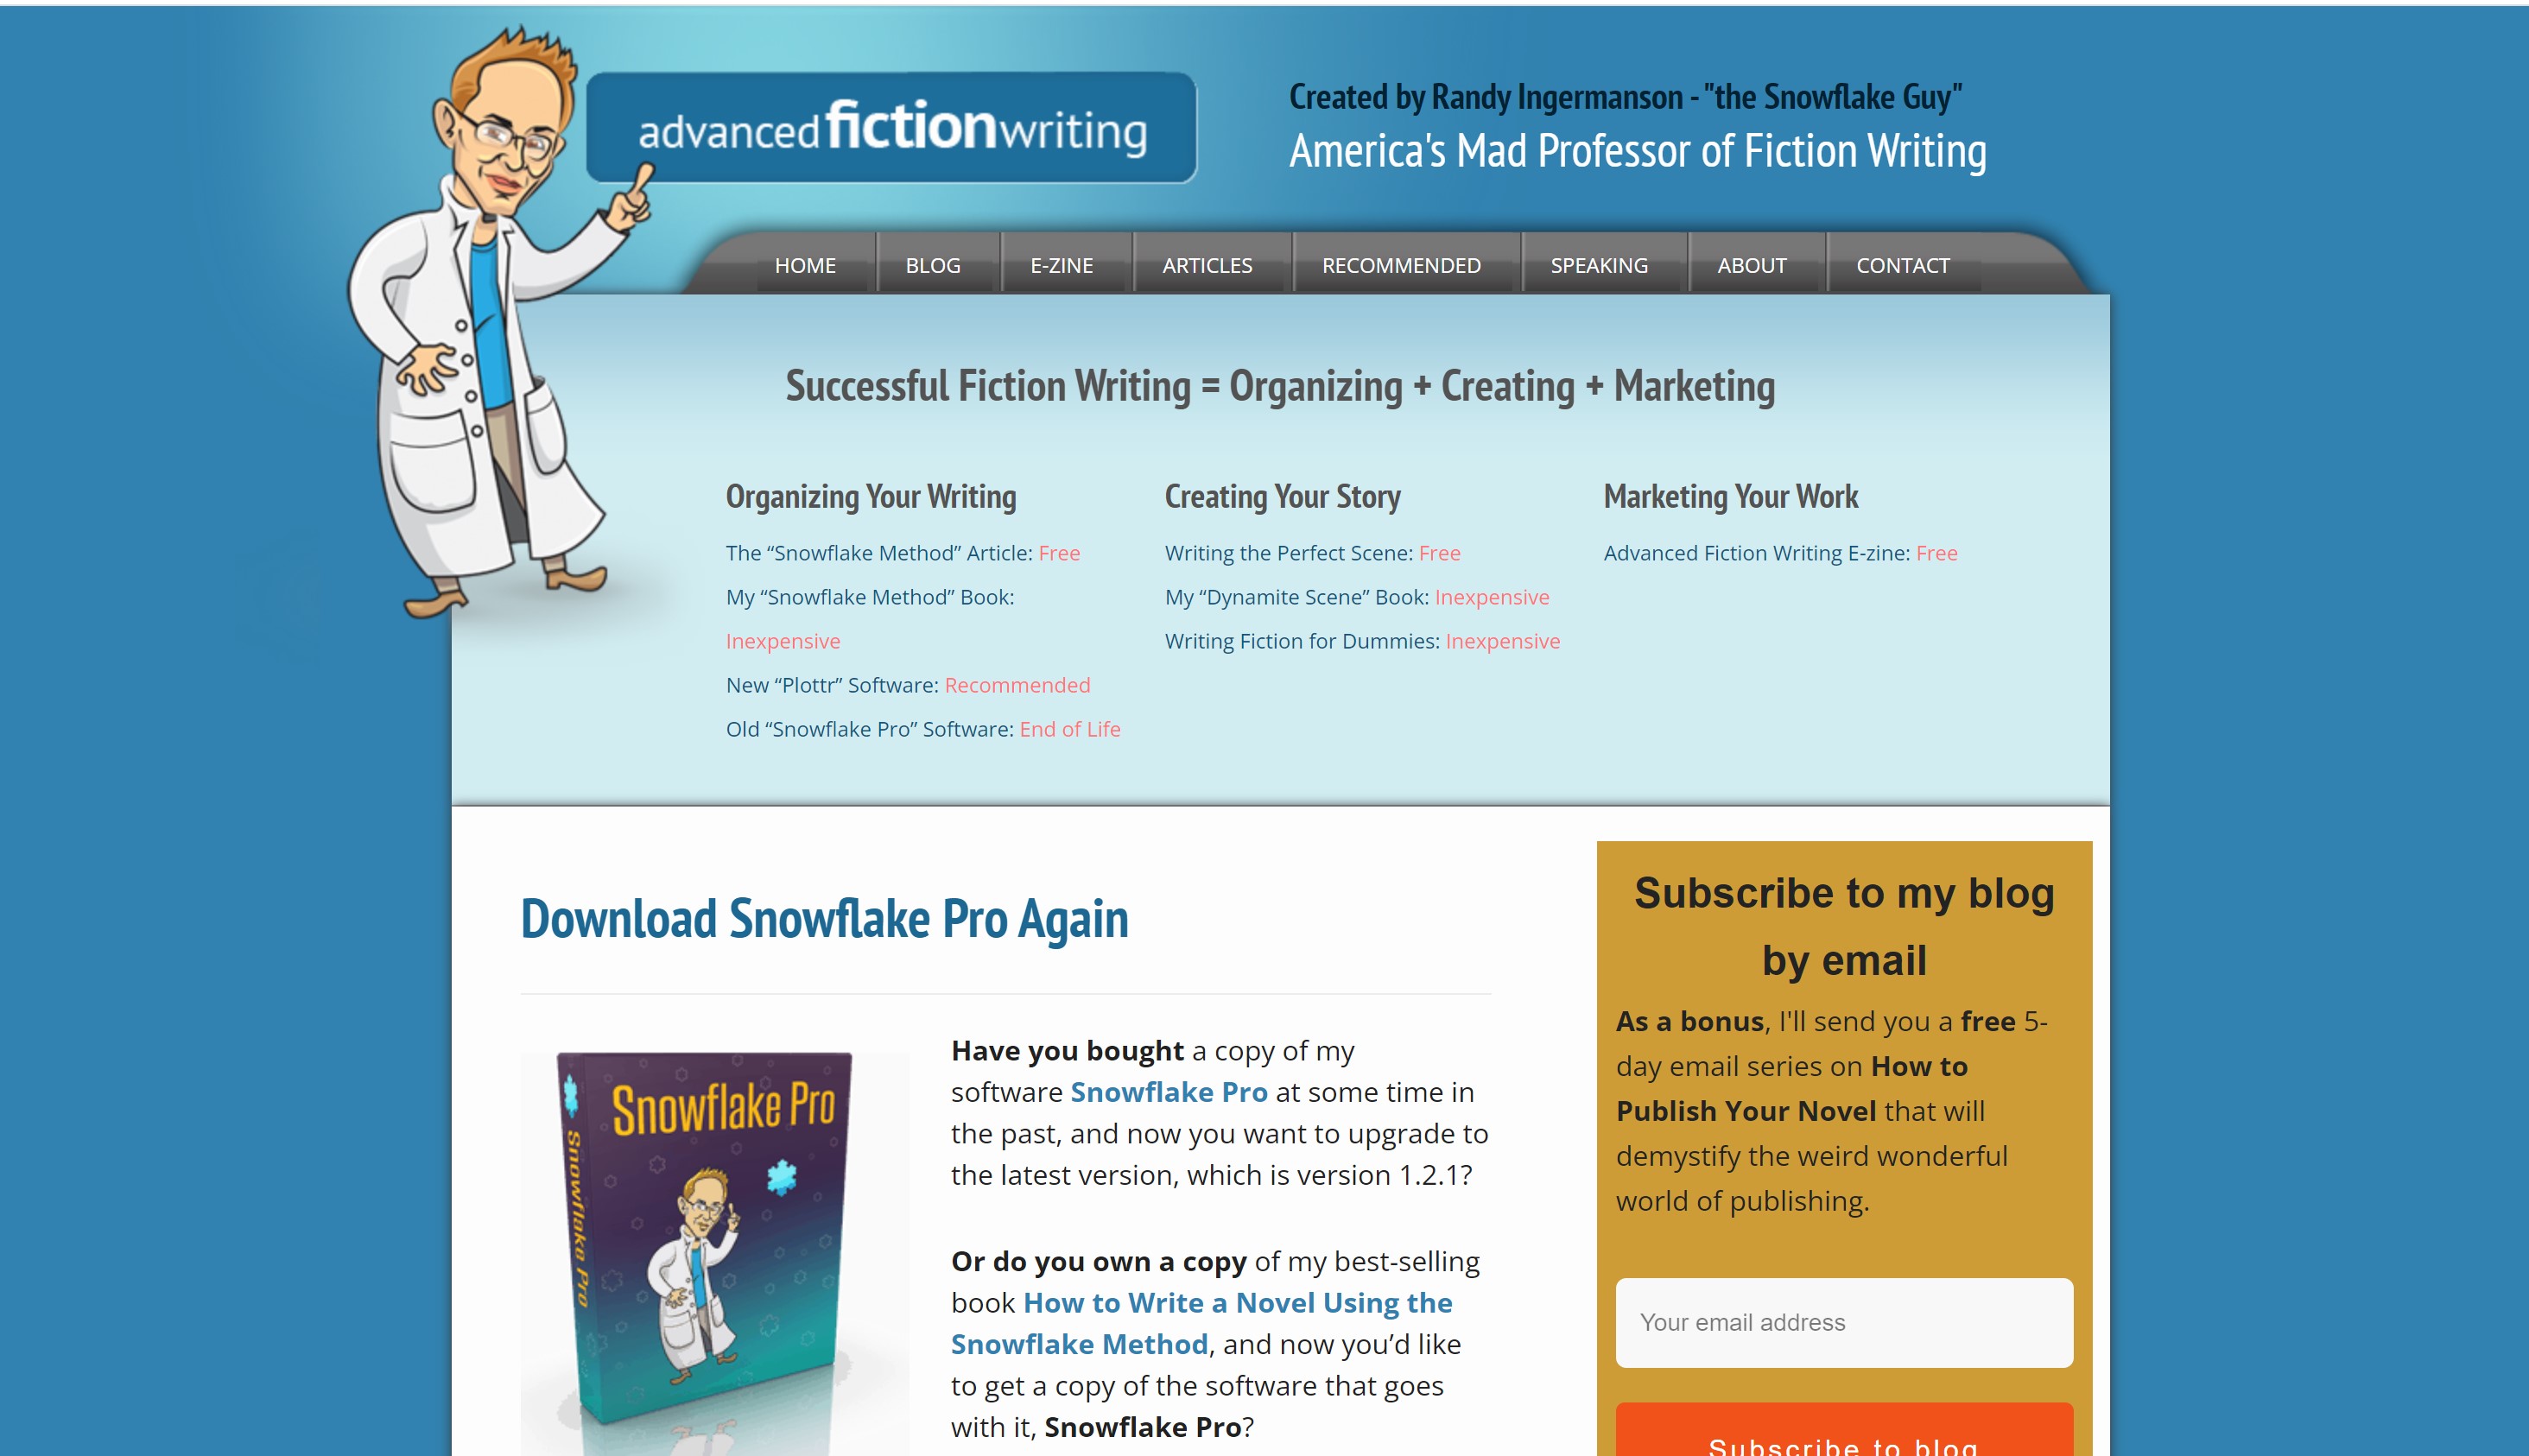
Step 1: Downloading Snowflake Pro
You have your concept written out for the game. If not, write it down in Microsoft Word for this step.
After that, go to the Advancedfictionwriting website and download it.
When you download it, set it up.
Great! You have finished this step!
Step 2: Converting your Document to a Snowflake Pro Document
First, Ignore the author info. It’s useless. You should be able to read the document and if it’s a one sentence summary, copy and paste. And then add to express your feelings. If you have already filled the Microsoft Word document for this post, PLEASE don’t make it a sentence summary unless you have already done it before reading this article.
Next, take a paragraph that describes your story. After that, take one that describes each characters and add a sentence to add more information for your character.
Step 3: Expanding Your Story
To expand your story, add mechanics in a way that would fit your story. Tell, don’t show, but not too much!
Expand each sentence to 3 paragraphs. Make sure you end up with 5 pages in total for the rest of the steps.
Step 4: Expand your Characters
To expand your characters, look at your RPGMaker file. So what armors, weapons, and other stuff will you use?
Try to repeat to weapons and add them in the game so they don’t corrupt (talking about that later), and don’t put any unnessacary characteristics like political party.
Step 5: Scenes
Make them using code from previous RPGMaker games you’ve made. If it’s your first, take random events and convert them to javascript for the story. Name them and do the whole shebang like you’d do for RPGMaker. If you haven’t made a game with the software before, make a test game to get used to it.
Step 6: Proposal
You don’t need anything for the proposal, just save and download. Why do you need this? Because you need to convert the file to a .TXT file. And no. This is not like what your bored work brain would do trying to convert a .JPG file to .TXT. This actually works. Then try to add RPGMaker elements to debug it and add some Snowflake Pro code to fill out some necessary forms to start your game.
Step 7: Flair, and also setup too.
Add flair for what you want, and fix any bugs by using correct code from your other games, or the test game to debug. Then, fix any things that make the character’s or weapon’s info look akward. This can apply to armor, skills, and other things. Edit stuff and make new stuff. It doesn’t make the game for you. Add events as you please. Debugging. Is. Necessary. Why? Because RPGMaker can’t read Snowflake Pro. This requires no coding, just a lot of copy and pasting.
Now you have an RPGMaker game with notes, but it wasn’t made for you! Snowflake Pro has all the data you need to start off and rest on a good game.
Assets aren’t needed, since Snowflake Pro has no images in sight. Default RTP is fine, but you can spice it up with your own graphics like what I am doing. This is also not nonsense. Most things I say are true, other are comical. If you aren’t an RPGMaker Dev, some stuff I say isn’t true. It’s just a mere joke.
Thanks for listening!
The Windwalker of All Times
The sights of the animals can never be seen by humans.
| Status | In development |
| Author | Fercadia |
| Genre | Role Playing |
| Accessibility | Color-blind friendly, Subtitles, Configurable controls |
More posts
- Aesthetic ImprovementOct 23, 2022
- An Update: Move Over, Common Events!Aug 02, 2022
- TWOAT - Community Center IdeaMay 01, 2022
- How to mod the character generator!Apr 15, 2022
- Writing Lore for my GameMar 31, 2022
- Trying to make my own plugins!Mar 26, 2022
- Statistics and Character UpdateMar 17, 2022
- MZ3D Migration!Mar 12, 2022
- Why I LOAVE Yanfly, and thoughts on RPG Maker MZMar 09, 2022
Leave a comment
Log in with itch.io to leave a comment.